
Professional Wall Painting Techniques Like a Pro
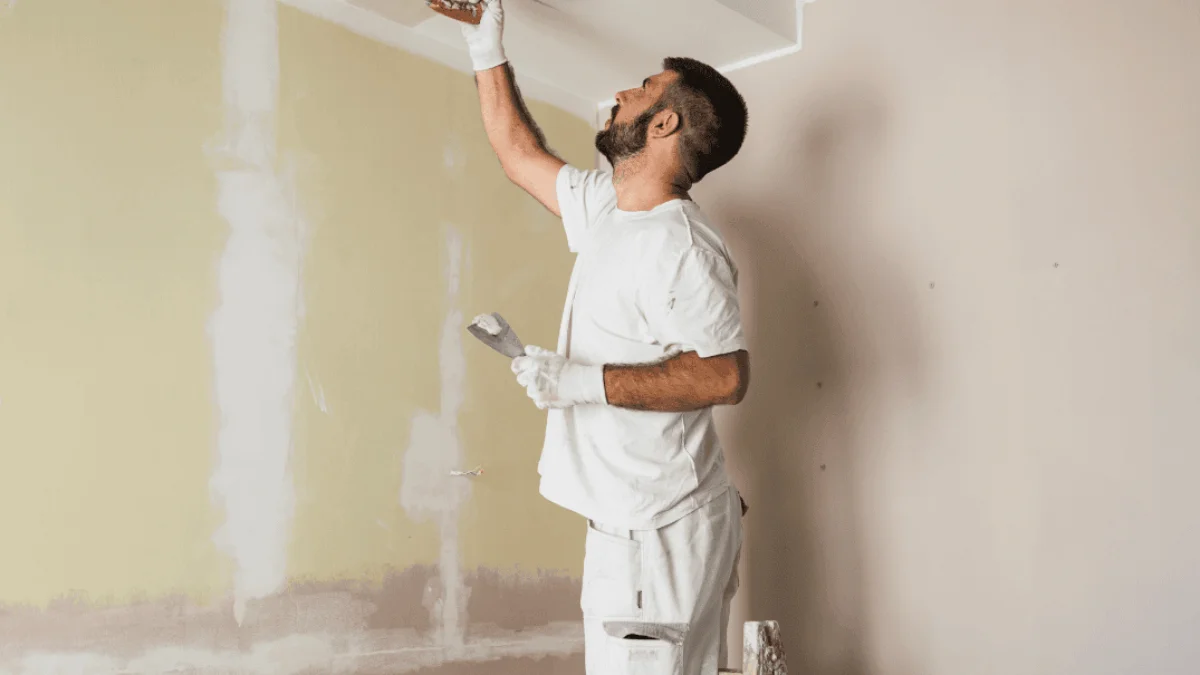
A fresh coat of paint has the power to completely transform a room, making it brighter, cleaner and more inviting. However, achieving a flawless finish requires far more than simply picking up a roller and applying paint. The difference between an average DIY job and a professional-looking result lies in the preparation, tools and application methods used throughout the project. Learning the right approach helps create walls that remain attractive for years.
Understanding Professional Wall Painting Techniques allows homeowners and DIY decorators to achieve high-quality results without unnecessary frustration. From repairing damaged surfaces to applying smooth, even coats of paint, every stage contributes to a beautiful finish. This guide explains the essential methods used by experienced painters, helping you improve your decorating skills while avoiding common mistakes that can affect the final appearance.
What Are Professional Wall Painting Techniques?
Professional Wall Painting Techniques are a collection of proven methods that ensure paint is applied evenly, adheres properly and provides a durable finish. These techniques include careful surface preparation, selecting the correct tools, cutting in around edges, maintaining a wet edge and applying multiple coats correctly. Professional decorators rely on these practices because they consistently deliver smooth, clean and long-lasting results across different types of walls and interior spaces.
Many people believe that expensive paint alone guarantees a perfect finish, but technique is often far more important. Even premium paint can look uneven if the wall has not been prepared correctly or if the roller is used improperly. By mastering the right painting methods, you can reduce visible brush marks, prevent roller lines and achieve an attractive appearance that enhances the overall style and value of your home.
Essential Tools and Materials for Professional Results
Every successful painting project begins with quality equipment. A high-quality roller with the correct nap thickness, an angled cutting-in brush, sturdy extension pole and durable paint tray all contribute to a smoother application. Professional decorators also use masking tape, dust sheets and mixing sticks to keep the workspace organised while protecting furniture, flooring and surrounding fixtures from accidental splashes and spills.
Preparation products are equally important for creating a flawless finish. Fillers repair cracks and holes, while sandpaper smooths rough surfaces before painting begins. Primers improve paint adhesion and help create a consistent surface, especially when covering dark colours or fresh plaster. Investing in reliable tools and materials not only improves the final appearance but also makes decorating quicker, cleaner and considerably less stressful.
Preparing Walls Before Painting
Preparation is often considered the most important stage of any decorating project because even the highest-quality paint cannot hide poorly prepared surfaces. Begin by removing dust, grease and stains using a suitable wall cleaner or sugar soap. Carefully inspect the walls for nail holes, cracks and uneven plaster before filling damaged areas with an appropriate filler and allowing it to dry completely.
Once repairs have hardened, sand the surface until it feels smooth and wipe away every trace of dust with a clean cloth. Apply primer whenever painting over fresh plaster, repaired sections or darker colours that may show through the new paint. Spending extra time on preparation ensures the paint bonds evenly, improves durability and creates the smooth foundation needed for a professional-quality finish.
Professional Wall Painting Techniques for a Perfect Finish
Applying paint correctly is where Professional Wall Painting Techniques truly make a noticeable difference. Begin by cutting in around ceilings, skirting boards, corners and door frames using a quality angled brush. Work carefully with steady movements to create neat, consistent borders before moving on to larger wall sections. This approach allows the roller to blend seamlessly into the brushed edges without leaving noticeable lines.
When rolling paint onto the wall, use the popular W or M pattern before filling in the gaps with overlapping strokes. Avoid pressing too firmly, as excessive pressure removes paint rather than spreading it evenly. Always maintain a wet edge by working in manageable sections and blending each new pass into the previous one before it begins to dry. These simple yet effective methods help produce smooth walls with an even, streak-free finish.
Applying Multiple Coats Correctly

Applying more than one coat of paint is essential if you want rich colour, even coverage and a long-lasting finish. Although the first coat provides the base layer, it often reveals slight inconsistencies, especially on newly plastered walls or when covering darker shades. Allow the first coat to dry completely according to the manufacturer’s instructions before applying another layer. Rushing this stage can result in peeling, bubbling or poor adhesion.
The second coat enhances colour depth and creates the smooth, professional appearance most homeowners expect. Inspect each wall carefully under natural daylight before continuing, paying close attention to corners, edges and areas around windows where thin coverage is more noticeable. Following these Professional Wall Painting Techniques ensures every section of the wall has a consistent finish without visible patches or roller marks.
Common Wall Painting Mistakes to Avoid
Even experienced decorators can make mistakes if they overlook the basics. One of the most common errors is skipping surface preparation, which often leads to peeling paint, poor adhesion and uneven coverage. Painting over dusty, greasy or damp walls prevents the paint from bonding properly, reducing both its appearance and durability. Taking time to prepare the surface always produces better long-term results.
Another frequent mistake is using too much paint on the roller or failing to maintain a wet edge while working across the wall. Excess paint creates drips and heavy textures, while dry edges leave visible lap marks that are difficult to correct later. Working steadily in smaller sections and applying consistent pressure helps produce smooth walls that reflect the quality expected from professional decorators.
Caring for Newly Painted Walls
Freshly painted walls need time to cure properly before they are exposed to regular cleaning or heavy use. While paint may feel dry within a few hours, complete curing can take several weeks depending on the paint type, humidity and room temperature. During this period, avoid scrubbing the surface or placing furniture directly against the walls to prevent unnecessary marks or damage.
Once fully cured, regular maintenance helps preserve the appearance of your newly decorated room. Dust walls gently using a soft microfibre cloth and remove stains with mild soapy water rather than harsh chemical cleaners. Promptly repairing small chips or scratches prevents them from becoming more noticeable, ensuring your paintwork continues to look fresh and well maintained for many years.
Professional Painter Tips for Better Results
Professional decorators achieve consistent results because they focus on planning as much as painting. Before opening a paint tin, organise all tools, prepare the room and ensure there is adequate lighting throughout the workspace. Good lighting makes it easier to spot missed areas, roller lines and uneven coverage before the paint dries completely. Careful organisation also reduces interruptions and improves efficiency from start to finish.
Choosing the correct paint finish is another important decision that affects both appearance and durability. Matt paint is excellent for hiding small imperfections in living rooms and bedrooms, while satin and eggshell finishes provide greater resistance to moisture and cleaning in kitchens, bathrooms and hallways. Combining quality materials with Professional Wall Painting Techniques delivers beautiful, durable walls that continue looking impressive long after the decorating project is complete.
Conclusion
Achieving beautifully painted walls is not simply about choosing the right colour. Success comes from following proven decorating methods, using quality tools and preparing every surface thoroughly before painting begins. By understanding and applying Professional Wall Painting Techniques, homeowners can create smooth, even finishes that enhance the overall appearance of any room while increasing the durability of the paintwork.
Whether you are refreshing a single feature wall or redecorating your entire home, investing time in proper preparation and careful application always pays off. From cutting in neatly around edges to applying multiple coats with consistent roller strokes, every stage contributes to professional-quality results. With patience, attention to detail and the right approach, anyone can achieve walls that look expertly finished and remain attractive for years to come.
Frequently Asked Questions
What are Professional Wall Painting Techniques?
Professional methods used to prepare and paint walls for a smooth, durable finish.
What is the best technique for painting walls evenly?
Use the W or M roller pattern with overlapping strokes for even coverage.
Should I always use primer before painting?
Primer is recommended for new, repaired or stained walls to improve paint adhesion.
How many coats of paint do professionals recommend?
Two coats are usually recommended for the best coverage and finish.
How can I avoid roller marks on walls?
Maintain a wet edge and apply paint with light, even roller pressure.
What type of paint finish is best for interior walls?
Matt suits most rooms, while satin or eggshell is ideal for high-traffic areas.
How long should I wait between paint coats?
Wait two to four hours or follow the paint manufacturer’s instructions.
Can beginners achieve professional-looking results?
Yes, with proper preparation, quality tools and the right painting techniques.