
Complete Paint Preparation Guide for Perfect Results
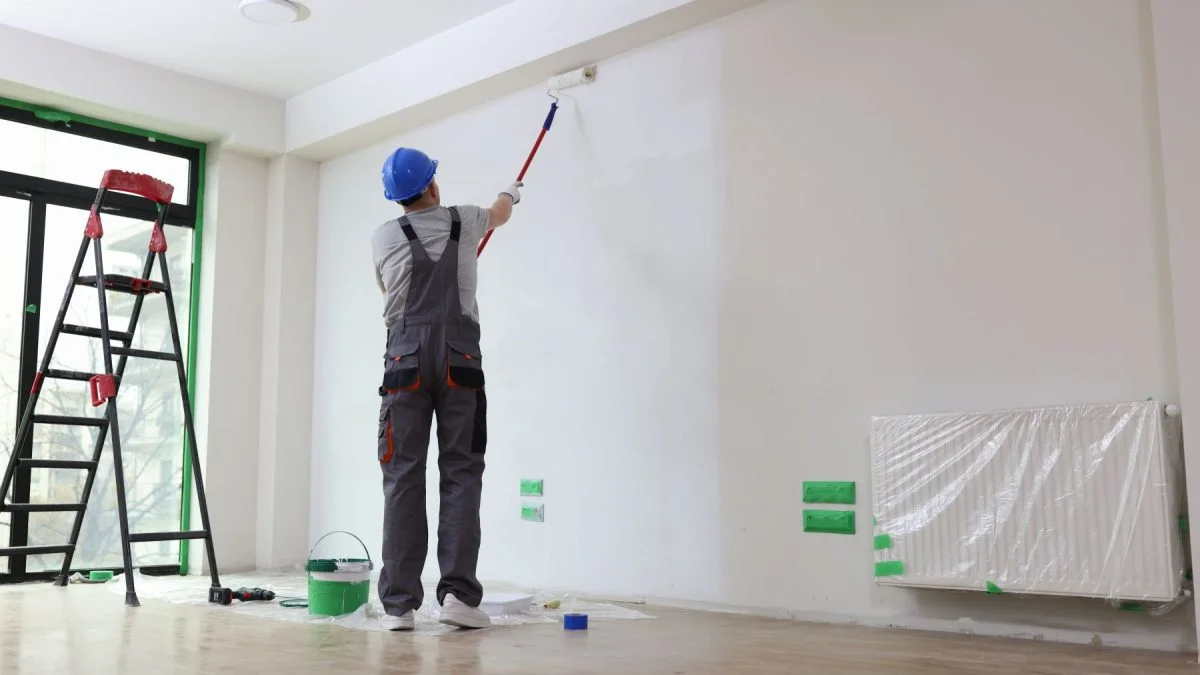
Painting is one of the most effective ways to refresh the appearance of your home, but achieving a smooth and durable finish depends on much more than choosing a quality paint. Proper preparation ensures that paint bonds correctly with the surface, improves its lifespan and creates a professional-looking result. This Complete Paint Preparation Guide explains every essential step required before applying paint, helping homeowners and DIY enthusiasts avoid common mistakes while achieving impressive results.
Whether you are decorating a single room, repainting exterior walls or restoring wooden surfaces, taking time to prepare properly makes all the difference. Skipping preparation may seem like a time-saving option, but it often results in peeling paint, uneven coverage and costly repairs. By following this guide, you can create the ideal foundation for a flawless finish that remains attractive for years.
Why Complete Paint Preparation Guide Is Essential
A successful painting project always begins with careful preparation rather than opening a tin of paint. Dust, grease, moisture and loose paint can all prevent fresh paint from adhering properly, leading to bubbling, cracking or peeling over time. Following a Complete Paint Preparation Guide helps eliminate these issues by creating a clean, smooth and stable surface that allows paint to perform exactly as intended.
Proper preparation also improves the overall appearance and durability of your decorating project. Smooth walls and repaired surfaces allow paint to spread evenly, creating a consistent colour and finish throughout the room. Investing extra time before painting reduces future maintenance, saves money on repairs and ensures your newly painted surfaces continue looking fresh and attractive for much longer.
Tools and Materials You’ll Need
Before beginning any preparation work, gather all the tools and materials needed for the job. Essential items include sugar soap or a mild cleaning solution, decorators’ filler, filling knives, sandpaper in various grades, sanding blocks, primer, painter’s tape, dust sheets, tack cloths and quality brushes or rollers. Having everything available before you start helps maintain a smooth workflow without unnecessary interruptions.
Safety equipment is equally important during paint preparation. Protective gloves, safety glasses and a dust mask reduce exposure to dust, debris and cleaning chemicals while sanding or repairing surfaces. Using reliable tools and high-quality preparation products not only makes the work easier but also contributes significantly to achieving a professional-quality finish that lasts for years.
Step-by-Step Complete Paint Preparation Guide
Begin by clearing the work area and protecting surrounding furniture, flooring and fixtures with dust sheets or plastic coverings. Remove picture frames, light switch covers and door handles wherever possible to create unrestricted access to the surfaces being painted. Cleaning every wall thoroughly with sugar soap removes grease, dirt and stains that could interfere with proper paint adhesion and lead to an uneven finish.
After cleaning, inspect every surface carefully for cracks, dents, nail holes and peeling paint. Scrape away any loose material before filling imperfections with a suitable filler and allowing sufficient drying time. Once dry, sand the repaired areas until completely smooth before removing every trace of dust with a tack cloth or vacuum cleaner. Applying primer where required completes this Complete Paint Preparation Guide, creating the perfect base for a long-lasting paint finish.
Preparing Different Surfaces Before Painting
Every surface requires a slightly different preparation method to achieve the best painting results. Interior plaster walls generally need cleaning, filling and light sanding before painting, while newly plastered walls should be completely dry before receiving a mist coat followed by primer if necessary. Wooden surfaces often require old paint or varnish to be removed, knots sealed and imperfections repaired to provide a stable base for fresh paint.
Metal, masonry and exterior surfaces demand additional care because they are constantly exposed to changing weather conditions. Rust should be removed from metal before applying a specialist metal primer, while exterior brickwork and masonry should be cleaned thoroughly to remove dirt, algae and loose material. Following a Complete Paint Preparation Guide for each specific surface ensures stronger paint adhesion, improved durability and a finish that remains attractive throughout the seasons.
Common Paint Preparation Mistakes to Avoid

One of the biggest mistakes people make is assuming that existing paint can simply be painted over without inspection. Although this may appear to save time, hidden dust, grease, peeling paint or moisture can quickly cause the new paint to fail. Ignoring small cracks and holes may also result in visible imperfections that become even more noticeable once the fresh coat has dried.
Another frequent mistake is rushing the preparation process. Many DIY painters skip sanding because it seems unnecessary, while others fail to allow filler or primer enough time to dry properly. These shortcuts often lead to uneven surfaces, poor paint adhesion and disappointing results. A thorough Complete Paint Preparation Guide encourages patience, ensuring every stage is completed correctly before moving on to painting.
Expert Tips for Professional Paint Preparation
Professional decorators understand that preparation often takes longer than painting itself, yet it is the key to achieving exceptional results. Always work in a clean, well-ventilated space and avoid painting during extremely cold, hot or humid weather. Stable environmental conditions allow fillers, primers and paint to cure correctly, helping to create a stronger and more durable finish.
Choosing premium preparation products also makes a significant difference. High-quality fillers are easier to sand, quality primers improve adhesion and reliable painter’s tape creates cleaner edges around skirting boards and trim. Testing paint on a small hidden section before decorating the entire room is another useful technique that allows you to confirm colour, finish and coverage before committing to the full project.
How to Know Your Surface Is Ready for Painting
Before opening your paint, inspect every prepared surface carefully under natural light where possible. Run your hand gently across the wall or woodwork to check for rough patches, ridges or remaining imperfections. The surface should feel completely smooth and consistent without any noticeable changes in texture. Taking a few extra minutes for this final inspection helps prevent visible defects from appearing after painting.
The surface should also be completely clean, dry and free from sanding dust before paint is applied. Wipe every area with a tack cloth or microfibre cloth to remove any remaining particles, then ensure primer has fully cured according to the manufacturer’s instructions. Following this final stage of the Complete Paint Preparation Guide provides confidence that your paint will adhere evenly and produce a professional-quality finish.
Conclusion
Successful decorating begins long before the first coat of paint is applied. Careful cleaning, repairing, sanding and priming create the perfect foundation for smooth application, stronger adhesion and a finish that remains beautiful for years. Although preparation requires additional time and effort, it significantly reduces the risk of peeling, blistering and uneven coverage, making every painting project more successful.
Following this Complete Paint Preparation Guide allows both beginners and experienced DIY decorators to achieve outstanding results with confidence. By preparing each surface correctly, selecting quality materials and avoiding common mistakes, you can enjoy a durable, attractive and professional-looking finish that enhances the appearance and value of your home. Investing in proper preparation today will reward you with paintwork that continues to look its best for many years.
Frequently Asked Questions
What is a Complete Paint Preparation Guide?
A guide that explains how to clean, repair, sand and prime surfaces before painting.
Why is paint preparation so important?
It helps paint adhere better and creates a smoother, longer-lasting finish.
Should I clean walls before painting?
Yes, clean walls to remove dirt, grease and dust for better paint adhesion.
Do all surfaces need sanding?
Most surfaces benefit from light sanding to improve smoothness and paint adhesion.
When should I use primer?
Use primer on bare, repaired or stained surfaces before painting.
Can I paint over old paint?
Yes, if the existing paint is clean, sound and properly prepared.
How long should filler dry before sanding?
Allow filler to dry fully according to the manufacturer’s instructions.
What grit sandpaper is best for preparing walls?
Use 150 to 220-grit sandpaper for most interior wall preparation.
What tools are essential for paint preparation?
You’ll need cleaner, filler, sandpaper, primer, painter’s tape and dust sheets.
How can I achieve a professional paint finish?
Prepare the surface thoroughly and use quality materials and techniques.